Do you want to make your 3D printer more colorful and exciting? You've come to the right place! In this easy-to-follow guide, we'll dive into multi-color 3D printing. Whether you're just starting or you're already experienced, we'll give you all the tips and tricks you need to make your prints pop with vivid colors. From learning about different methods to preparing your models for printing, we've got you covered. Let's explore the amazing possibilities of printing in multiple colors!
How Multi-Color 3D Printing Works
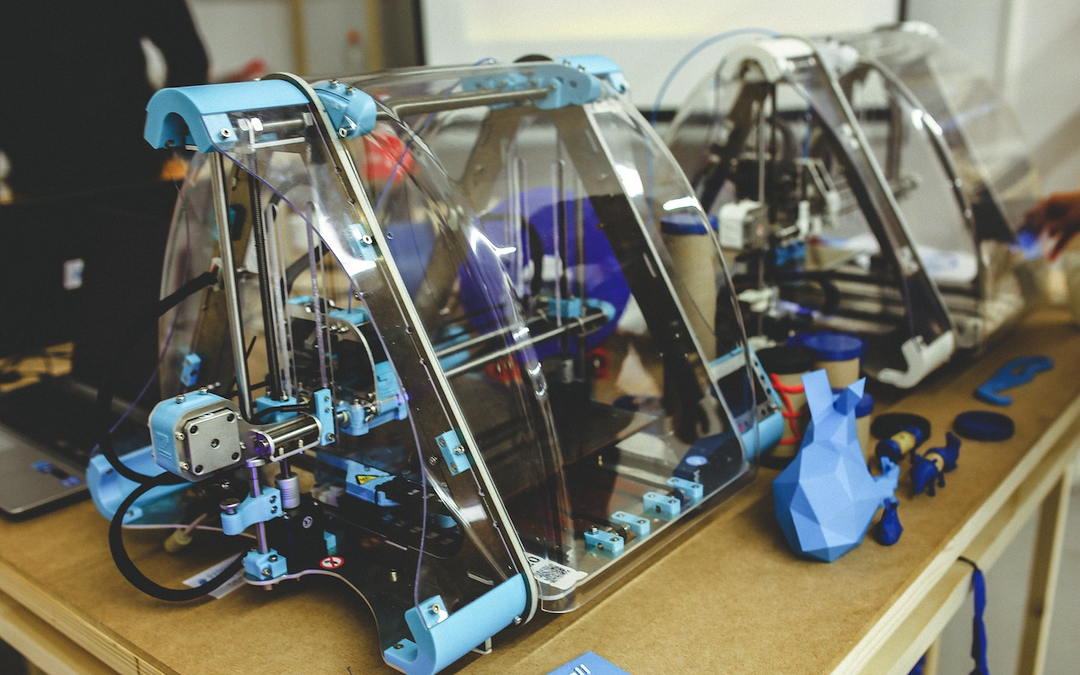
Let's start by understanding how multi-color 3D printing works. In the past, 3D printers could only print in one color and material at a time. But thanks to advances in technology, we can now create prints with multiple colors using just one printer nozzle. This opens up a whole new world of creativity for making models, prototypes, and useful items in bright, eye-catching colors.
Multi-color printing can be done in several ways, each with its pros and cons. Some common methods include pausing the printer to change the filament, printing objects in separate pieces, using special rainbow filaments, and using printers that can handle multiple materials at once. These methods let you add detail and complexity to your prints, making them look more realistic and interesting.
Different Ways to Print in Multiple Colors
1. Changing Filament Mid-Print
One easy way to print in multiple colors is by pausing the printer and swapping out the filament. This means you stop the printing process, switch to a different colored filament, and then continue printing. It's a simple method that doesn't require any fancy equipment or software.
To do this, you'll need a printer with a pause feature and software that supports it. You'll also need to plan your model so that you know where to change colors. While this method is straightforward, it does require you to keep an eye on the printing process and be careful when changing filaments.
2. Printing in Pieces
Another way to print in multiple colors is by breaking your model into separate pieces, each printed in a different color. Once printed, you can assemble the pieces to create your multi-color object. This method gives you more control over the color placement and allows for intricate designs.
3. Using Rainbow Filament
Rainbow filament is a special type of filament that changes color as it's printed, creating a gradient effect. This means you don't have to change filaments or print in separate pieces manually. It's a convenient option for achieving multi-color prints without extra hassle.
You'll need a printer and software that supports multi-color printing to use rainbow filament. You'll also need to design your model with the color gradient in mind. While this method may limit your color choices compared to manually changing filaments, it offers a seamless transition between colors.
4. Multi-Material Printing
For more advanced multi-color prints, you can use a printer that can handle multiple materials at once. This allows you to combine different colored filaments or resins to create complex color patterns and textures in your prints.
To do this, you'll need a printer capable of multi-material printing and compatible software. You'll also need to plan your model accordingly and assign different materials to different parts of the design. While this method offers the most flexibility regarding color options, it requires more advanced equipment and skills.
Getting Started: What You Need
Before you start printing in multiple colors, make sure you have the right tools and materials. Here's what you'll need:
1. Choosing a Compatible Printer
Make sure you have a 3D printer that can handle multi-color printing. Not all printers support this feature, so do your research before buying. Look for printers with dual extruders or ones that are compatible with multi-color filaments.
2. Selecting the Right Filament
Choose filaments that are compatible with your printer and offer the colors you want. PLA, ABS, PETG, and specialty filaments like rainbow filament are good options to consider. Make sure the filament is high-quality and suited to your printing needs.
With the right tools and techniques, you can unlock the full potential of your 3D printer and create stunning multi-color prints. So why wait? Start exploring the world of multi-color 3D printing today!
Unlocking Success with Slicer Software
Imagine slicer software as your trusty assistant in the world of multi-color 3D printing. Its job? Take your 3D models and whip them into shape for your printer to understand. Think of it like translating a message into a language your printer speaks. When it comes to printing in multiple colors, you need slicer software that knows the drill—whether it's giving cues for switching filaments or assigning different materials to different parts of your model.
There are a few big names in the slicer software game for multi-color printing: Ultimaker Cura, PrusaSlicer, Simplify3D, and Slic3r. They're like the superheroes of the printing world, offering all sorts of cool features and easy-to-use interfaces. But here's the deal: You've got to get cozy with your chosen slicer software. Knowing its ins and outs is the key to making your prints pop with color.
Now, let's talk about one way to print in multiple colors: the Pause and Swap Filament technique. It's like a magic trick for single-extruder 3D printers. Here's the lowdown on how it works:
Step 1: Get Creative with Your Model
Before you hit print, think about how you want those colors to dance across your model. Design it with color changes in mind, whether you're going for bold blocks of color or intricate patterns.
Step 2: Slice and Dice with Pause Commands
Once your model's ready, it's time to slice it up using your slicer software. Tell the software where you want those color changes to happen by adding pause commands at the right spots.
Step 3: Print and Swap
Load up your printer with the first color of filament and hit print. When it's time for a color switch, your printer will either pause automatically or give you a heads-up. Swap out the filament following your printer's instructions, then let the printing resume.
Step 4: Add the Finishing Touches
Once your print's done, take it off the build plate and give it a once-over. If needed, tidy it up with some post-processing techniques like sanding or painting to make those colors shine.
And that's it—your ticket to vibrant, multi-color prints with just a dash of slicer software magic!
Having looked at multi-color 3D printing, it’s also important to have a look at the best 3D printing software. There are many that are available, but we recommend using SelfCAD. SelfCAD is an easy-to-use 3D modeling software that you can use to create your 3D models and even prepare them for 3D printing all under one program without the need to switch to different software. It is also affordable and it comes with many resources for learning.
Conclusion
SelfCAD is your ticket to making amazing multicolor 3D prints. With its easy-to-use tools and helpful features, you can create truly one-of-a-kind prints. Whether you're just starting or you're a pro, SelfCAD has everything you need to unlock your creativity and make prints that will wow everyone.
Share this post
Leave a comment
All comments are moderated. Spammy and bot submitted comments are deleted. Please submit the comments that are helpful to others, and we'll approve your comments. A comment that includes outbound link will only be approved if the content is relevant to the topic, and has some value to our readers.
Comments (0)
No comment