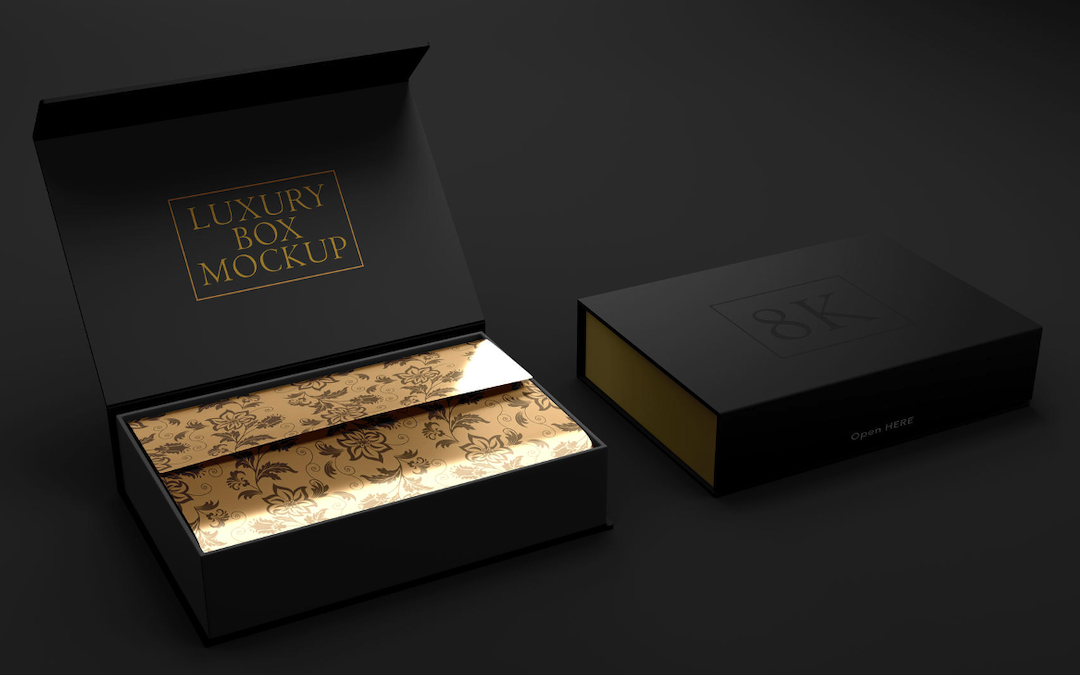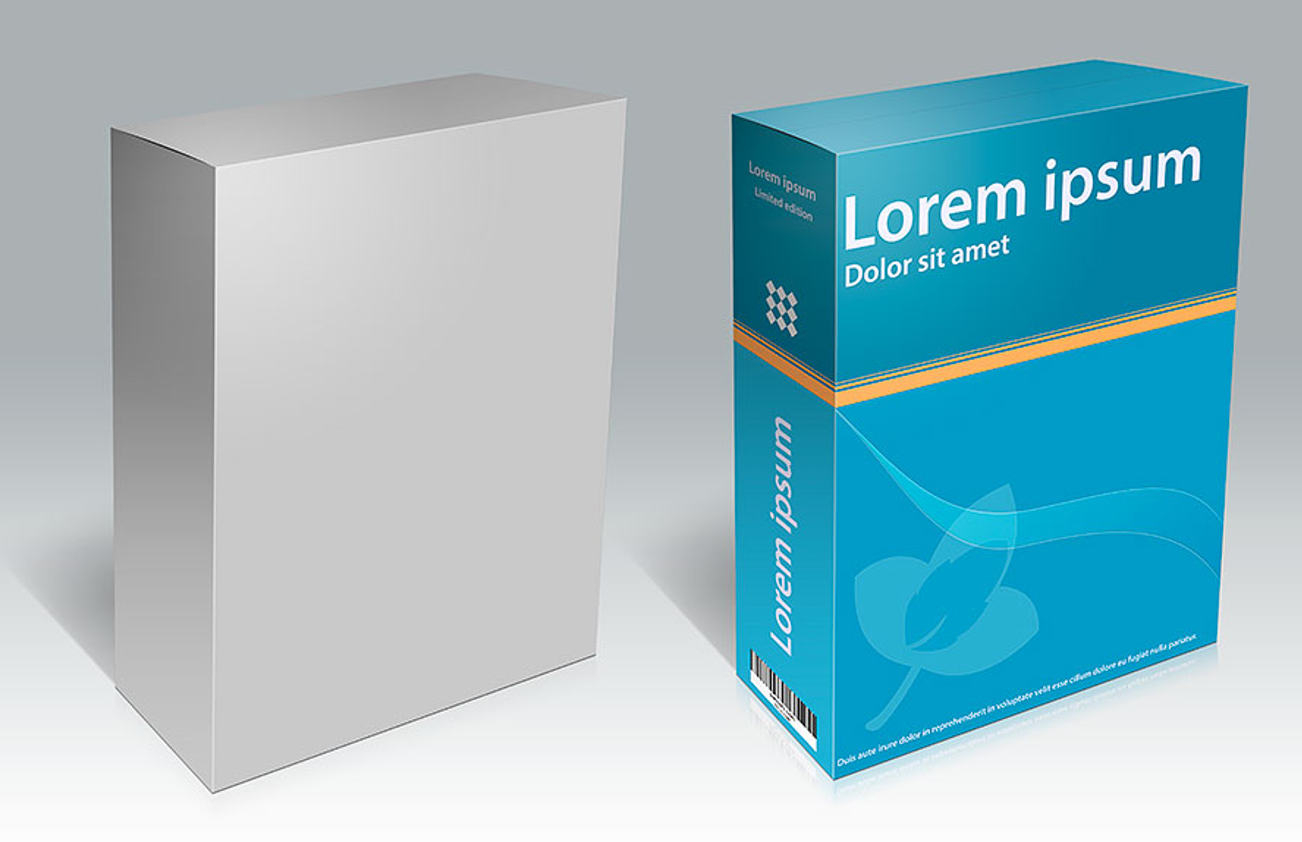
When delivering your goods or handing them off to the customer, whatever the product, you have the opportunity to inject excitement upon their first time setting their eyes on it. Having a sophisticated, professional design adds a special quality to the product’s handover, such as exclusivity or excitement. Much more importantly, other people will see this packaging and want it.
Why Using Mockups for Your Product Boxes Is a Good Idea
For the packaging you are going to use, you are going to want to use mockups, since in that case, you’ll be able to see the way the box will look in the real world before having to produce it physically to ensure a consistent design. This refers to not only high-quality imagery but the size of the font and the color. Having a polished, professional look is always a good thing too, for customers and investors alike.
How to Generate Product Box Mockups
Mockup boxes design is a technical endeavor with potential mistakes that could be made. Fortunately, there are large online platforms that exist with thousands of images on packaging, apparel, and other items.
Here’s how you get your packaging mockup:
- Go to YellowImages.com.
- There will be a menu on the left-hand edge of the screen.
- Under “All Mockups”, click the first list category – “Packaging”. A list of package types will expand open.
- Select the type of item you’re interested in. If it’s a product box, select “Boxes”.
- On the next page, search until you find the mockup that matches what you’re looking for.
- Flip through all the different angles, and choose PSD or JPEG.
- Click either “Download” or add to cart.
Tips on Editing Mockup Boxes

Boxes and packaging feature certain distinguishing elements from other markups that require the designer’s attention. Indeed the BBC recommended using big boxes even for small products. When it comes to editing the design, here are some things to keep in mind.
Prioritize Readable Fonts
The typography, including using a large, legible, stylish font that matches your company’s style and culture, is one of the biggest considerations. Nobody should be wondering what company yours is.
Use Smooth, Natural Textures
Make sure that the edges, curves, writing, logo, and images are properly aligned. If need be, transform the texture to meet the box’s material.
High-Quality Images
It is crucial to always use nothing but high-quality images as this has a huge effect on people’s attention. YellowImages uses nothing but top-quality images.
Test Different Backgrounds in Mockups
Just as it’s important to use the mockup to see what it looks like in the real world and to help people imagine the box in their hands, it also pays to complete the full picture and add backgrounds until you attain the one that establishes the most fitting context.
Add Reflections, Glares, and Shadows
You may usually hand off your product boxes indoors, in which case there would be a glare from the lighting. If not, you’ll need to simulate sunlight. In both cases, shadows are a necessity to keep the image looking natural.
Consistent Color Grading
Adjust the overall color tone to match your brand’s aesthetics and ensure the design contrasts well with the box’s color, helping it pop.
Forbes also depicted the importance of the psychology of packaging that is often overlooked.
Editing Packaging Mockups with Affinity Photo
Affinity Photo is similar to PhotoShop in the features that it offers but offers more value. In case you choose this software, here are the steps to editing your box mockup:
- Open the mockup file: if it’s a PSD, ensure that all layers are intact for easier editing.
- Insert your design: Past your design into the window, resize it to suit your preferences, and save the file.
- Perform direct layer editing: locate the design layer on the box. Delete or hide the existing design, then paste your own design onto the layer. Resize it, move it, and rotate it to match the box’s surface.
- Use the Move Tool to make the design look like it’s naturally wrapping around the box’s edges.
- Edit the shadows and lighting: adjust the shadows using the Burn Tool or highlight layers closer to the light source, using the Dodge Tool.
- Adjust the box’s color and texture: if you want to change the color or texture of the box, locate the color or texture layer in the Layers panel, use the hue/saturation adjustment or color overlay effect (in the effects panel) to alter the color of the box or background. In the case the box uses a cardboard or a glossy-type finish, you can apply that texture in a separate layer and adjust its blending mode.
- Refine the typography: select the Text Tool to edit or replace the existing text with your own text. Make sure it’s clear and readable, matches your brand’s aesthetics, and is aligned.
- Optional: use extra filters and effects like a Gaussian Blur on the background to make the box appear sharper.
- Optional: use gradient overlays or noise to simulate printed texture on the box’s surface.
- Zoom out and check out the box from all angles to make sure everything is cohesive and professional.
- Save the Affinity Photo document (.afphoto)
- Export your final mockup: go to File > Export, choose the file format, and choose a high resolution.
Editing Packaging Mockups with Photoshop

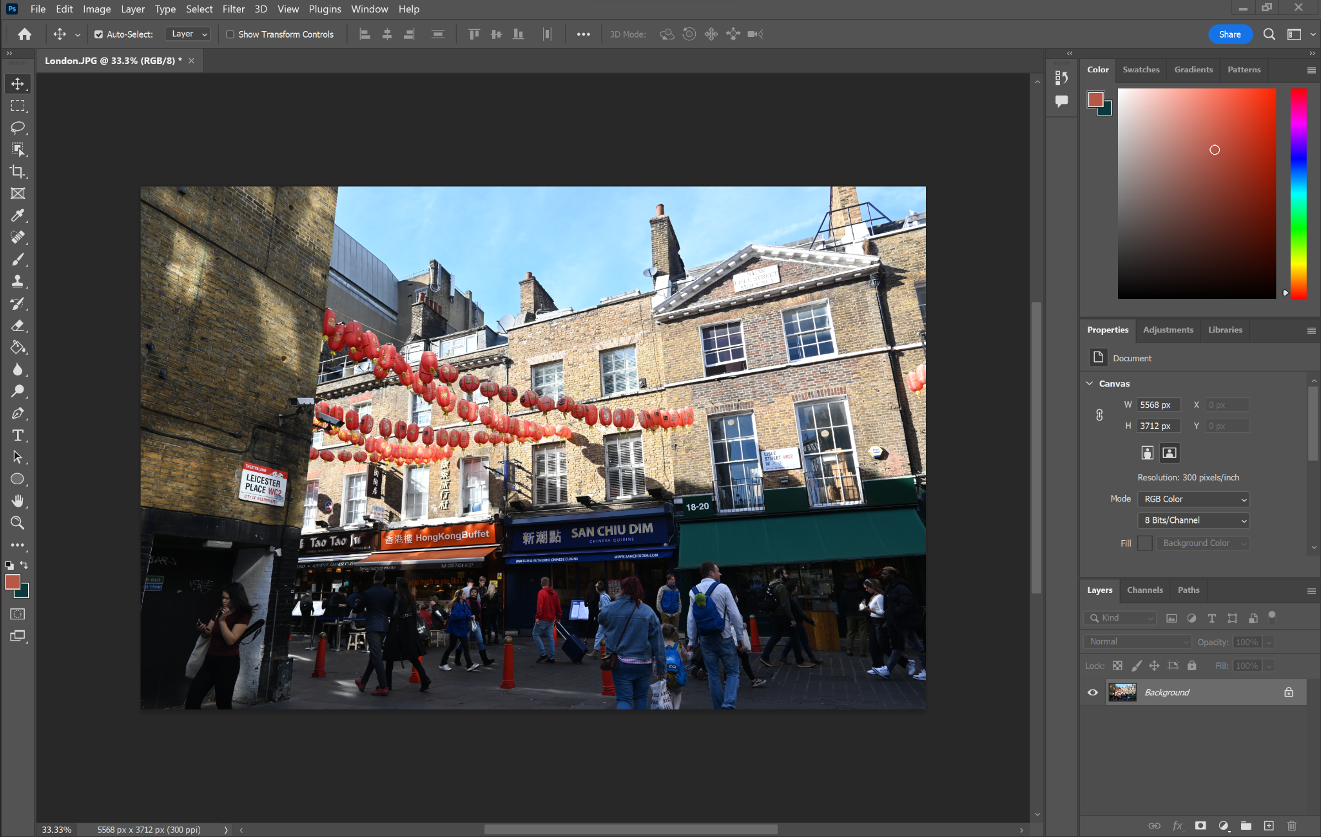
PhotoShop is the market leader in photo editing software. It is known to be the cream of the crop in special effects, convertibility, and breadth of options. While it costs more, this is the bona fide designer’s top choice. Here is how to edit box mockups in the program:
- Open the mockup file in PhotoShop: ensure that the file is in the correct PSD format.
- Identify smart objects: look for layers marked as “smart objects”> These are typically the layers you’ll place your design on. Double-click on the smart object thumbnail to open it.
- Replace the design: in the smart object window, replace the placeholder design with your own artwork. Adjust the size of your design to fit that of the mockup. Then, save and close the smart object window to apply the new design.
- Adjust the design for realism: adjust the shadows and lighting using the Burn and Dodge tools to add or reduce shading. Tweak layer styles like Drop Shadow to match the original mockup’s lighting.
- Adjust the box color and texture: select the layer you want to modify in the Layers panel. Use the adjustment layers like Hue/Saturation or Color Balance to adjust the box color. For textures, you can add a new texture layer or modify the existing one using layer blending modes.
- Modify the typography: use the Text Tool to adjust the font, resize it, and change the colors to match your company’s style.
- Add gradients, textures, or lighting if you wish to give an even more realistic touch.
- Consider other potential modifications like blurring the background to adjust the image’s focus.
- If you wish, add overlays or noise to make the added text look like it was printed on the box.
- Zoom out and double-check that everything’s in order.
- Click the file and export your image in the format and resolution of your choosing.
Conclusion
Creating professional and visually appealing product box mockups is an essential step in packaging design. It not only helps you visualize your product’s final look but also ensures that your design aligns with your brand identity and resonates with your target audience. By leveraging tools like Affinity Photo or Photoshop, and following best practices such as consistent color grading, realistic textures, and high-quality images, you can create mockups that leave a lasting impression.
As you embark on your packaging journey, remember that thoughtful design can make all the difference. By applying the tips and techniques outlined in this guide, you can create stunning product box mockups that showcase your brand in the best possible light.
Share this post
Leave a comment
All comments are moderated. Spammy and bot submitted comments are deleted. Please submit the comments that are helpful to others, and we'll approve your comments. A comment that includes outbound link will only be approved if the content is relevant to the topic, and has some value to our readers.

Comments (0)
No comment