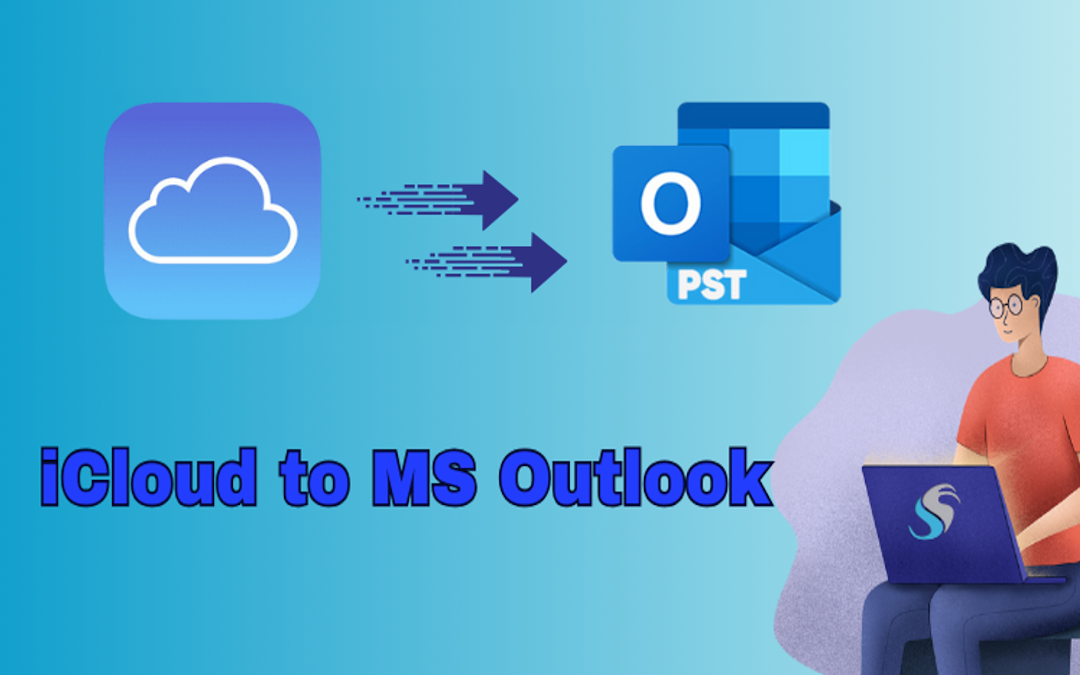
In today's fast-paced digital world, staying connected and organized is critical. With the integration of several platforms and devices, syncing or backing up your emails, contacts, and calendars has never been more essential. One such effective integration is adding iCloud to Outlook. Thus, it will allow users to manage their Apple environment in the Outlook interface with more ease and efficiency.
In this tutorial, we will show you how to attach iCloud to Outlook so that you can experience both worlds in a better way.
Understand Why Adding iCloud with Outlook Is a Good Idea
Let's go over some of the advantages of integrating iCloud with Outlook before getting into the specific technical instructions. There are various benefits to having your Outlook and iCloud email synchronized.
Unified Inbox
You will be able to simplify your email management, having multiple email accounts from within one location, whether it be work or personal, or other services, by integrating iCloud with Outlook.
Cross-platform Access
Outlook is compatible with iOS, Android, macOS, and Windows. iCloud email synced to Outlook allows you the flexibility of iCloud emails on any device through the Outlook App.
Improved Productivity
Outlook has furthered the integration by allowing Calendar Integration, task management, and scheduling, among other integrations. By synchronizing iCloud emails with Outlook, this could be possible in one application only, thus negating the need for toggling between applications.
Familiar Interface
This will surely enhance the usability of iCloud email if one is used to the layout and workflow of Outlook and save you the time it takes to get used to different applications.
Security and Synchronization Features
The advantage of using Outlook on iCloud involves the security features of Microsoft, such as encryption and advanced spam protection. Any of these services will keep your emails in sync across your devices so that you can have updated information wherever you are.
How to Integrate Outlook with iCloud Email - Step-by-Step
Before you begin, make sure you have your iCloud email settings ready. You will be prompted to enter your e-mail account, incoming and outgoing server settings, and password. Once you have completed those steps, you can follow the two below:
Part 1: Retrieve iCloud Application Password.
You need to generate an App Password using the iCloud website first and then add iCloud email to your Outlook. Once you create an app password, you can easily set up your iCloud account with Outlook. Instead of the typical iCloud mail password, one can use something known as an App Password that acts as a one-time passcode.
- Go to your web browser and search for Apple. Then sign in with your Apple ID.
- Go to the security section, click on app-specific passwords, and select generate a password.
- In the application name field give an appropriate application name. Example - Windows Mail, and then click the Create button.
- Select the password text, right click and from the context menu select Copy.
Part 2: Set up iCloud in Outlook.
Since you got the password for application-specific purposes, configure Outlook in iCloud with it.
- Open Outlook. Select "File" > "Info" > "+Add Account".
- Choose "Manual setup or additional server types" and click "Next".
- Select "POP or IMAP". Select "Next".
- In the POP and IMAP account settings, enter your "User Information", "Server Information", and "Login Information". Then, click the "More Settings" button.
- User information includes the user's name and full email address.
- Server Info: Choose the account type as IMAP. The incoming mail server is named imap.mail.me.com, and the outgoing mail server name for SMTP is smtp.mail.me.com.
- Login Info: A pop-up window will appear. Put your password and user name in here. Verify "Remember Password" by clicking.
- Click the "Outgoing Server" tab. Highlight "My outgoing server (SMTP) requires authentication" with "Use same settings as my incoming mail server".
- In the "Advanced" tab, under the port settings, set "Incoming server (IMAP)" to 993, and select from the drop-down menu "This server requires a secure connection (SSL)". Set "Outgoing server (SMTP)" to 587.
- Once you are done, press "OK" followed by "Next". If the account has been logged in normally then choose "Close" >> "Finish".
Drawbacks of Using the Manual Technique
- The process will be time-consuming and complicated.
- Users need to know about the configuration process to do this.
- And worse, failing to adhere to all the following steps could even lead to data loss.
- Data can be moved; formatting will not be maintained.
- Outlook needs to be installed.
Secure Way to Access or Add iCloud emails in MS Outlook
If you want to add emails and attachments to Outlook from iCloud securely, don't use the traditional way of downloading and uploading anymore! You can utilize the IMAP Mail Backup Tool by Softaken. With the help of this advanced utility, you can easily access iCloud emails in MS Outlook without any limitations or restrictions. Also, this application's Graphical user interface is so easy to use, that users don’t require any technical expertise for this program. Below are the steps for adding iCloud emails to MS Outlook.
Simple Steps to Add iCloud in MS Outlook
- Download and execute the program on your operating system.
- Next, log in to iCloud using your credentials and confirm your authentication.
- Now select the folder in which you want to take backup.
- Then click on the PST file format from among the list of file types.
- The desired location can be chosen where the resultant data has to be saved.
- Finally, click the 'Backup Now' button to start the backup.
Conclusion
In this article, we shared with you the easiest and most effective way to add iCloud to Outlook. We gave the method to configure iCloud accounts with Microsoft Outlook. Expert advice is available on how to transfer mailbox data from an iCloud account to Microsoft Outlook without encountering any problems.
Share this post
Author

Read the latest articles from Demetrio Parrilla
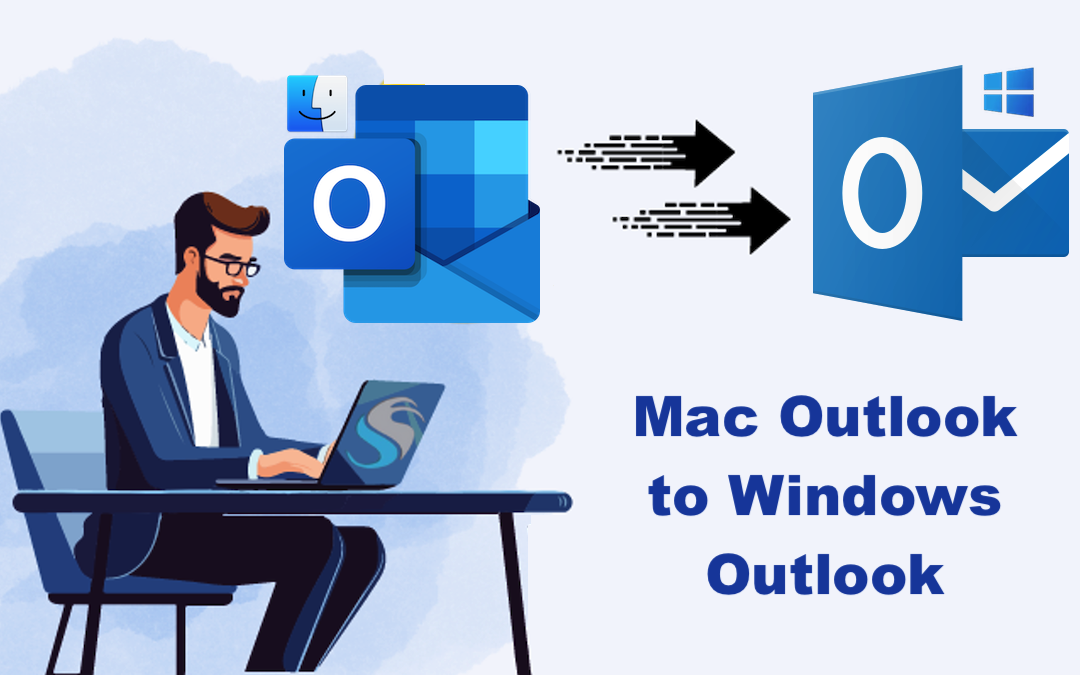
Complete Guide to Migrate Emails from Mac Outlook to Windows Outlook
September 20, 2024
In the information age, storing and moving e-mail data between platforms has become a common necessity for individuals as well as enterprises nowadays. Thus, if you're switching from a Mac to a Windows computer, if you want to take the backup of emails in Outlook for Mac in a format that is more convenient or jus [...]
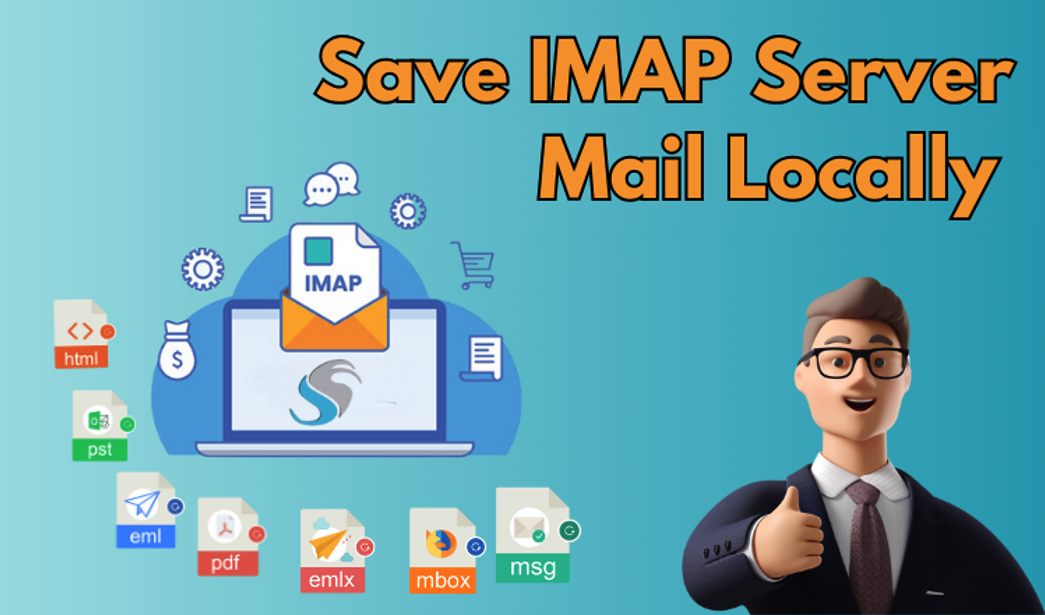
Learn moreHow to Save IMAP Server Mail Locally on Windows?
September 12, 2024
Many IMAP users need a backup solution to make a copy of their data at some time. Without a backup, an individual or company would always be concerned about data loss, thus they seek a solution to backup IMAP emails. To assist you in this matter, we will offer various solutions.
Learn moreLeave a comment
All comments are moderated. Spammy and bot submitted comments are deleted. Please submit the comments that are helpful to others, and we'll approve your comments. A comment that includes outbound link will only be approved if the content is relevant to the topic, and has some value to our readers.
Comments (0)
No comment